
Adding your company logo to invoices is an important step in reinforcing your brand identity and maintaining a professional presentation with clients. CommBilling makes it simple to upload and position your logo so every invoice you send reflects your company’s image and credibility.
Follow the steps below to upload and position your company logo on your invoice template.
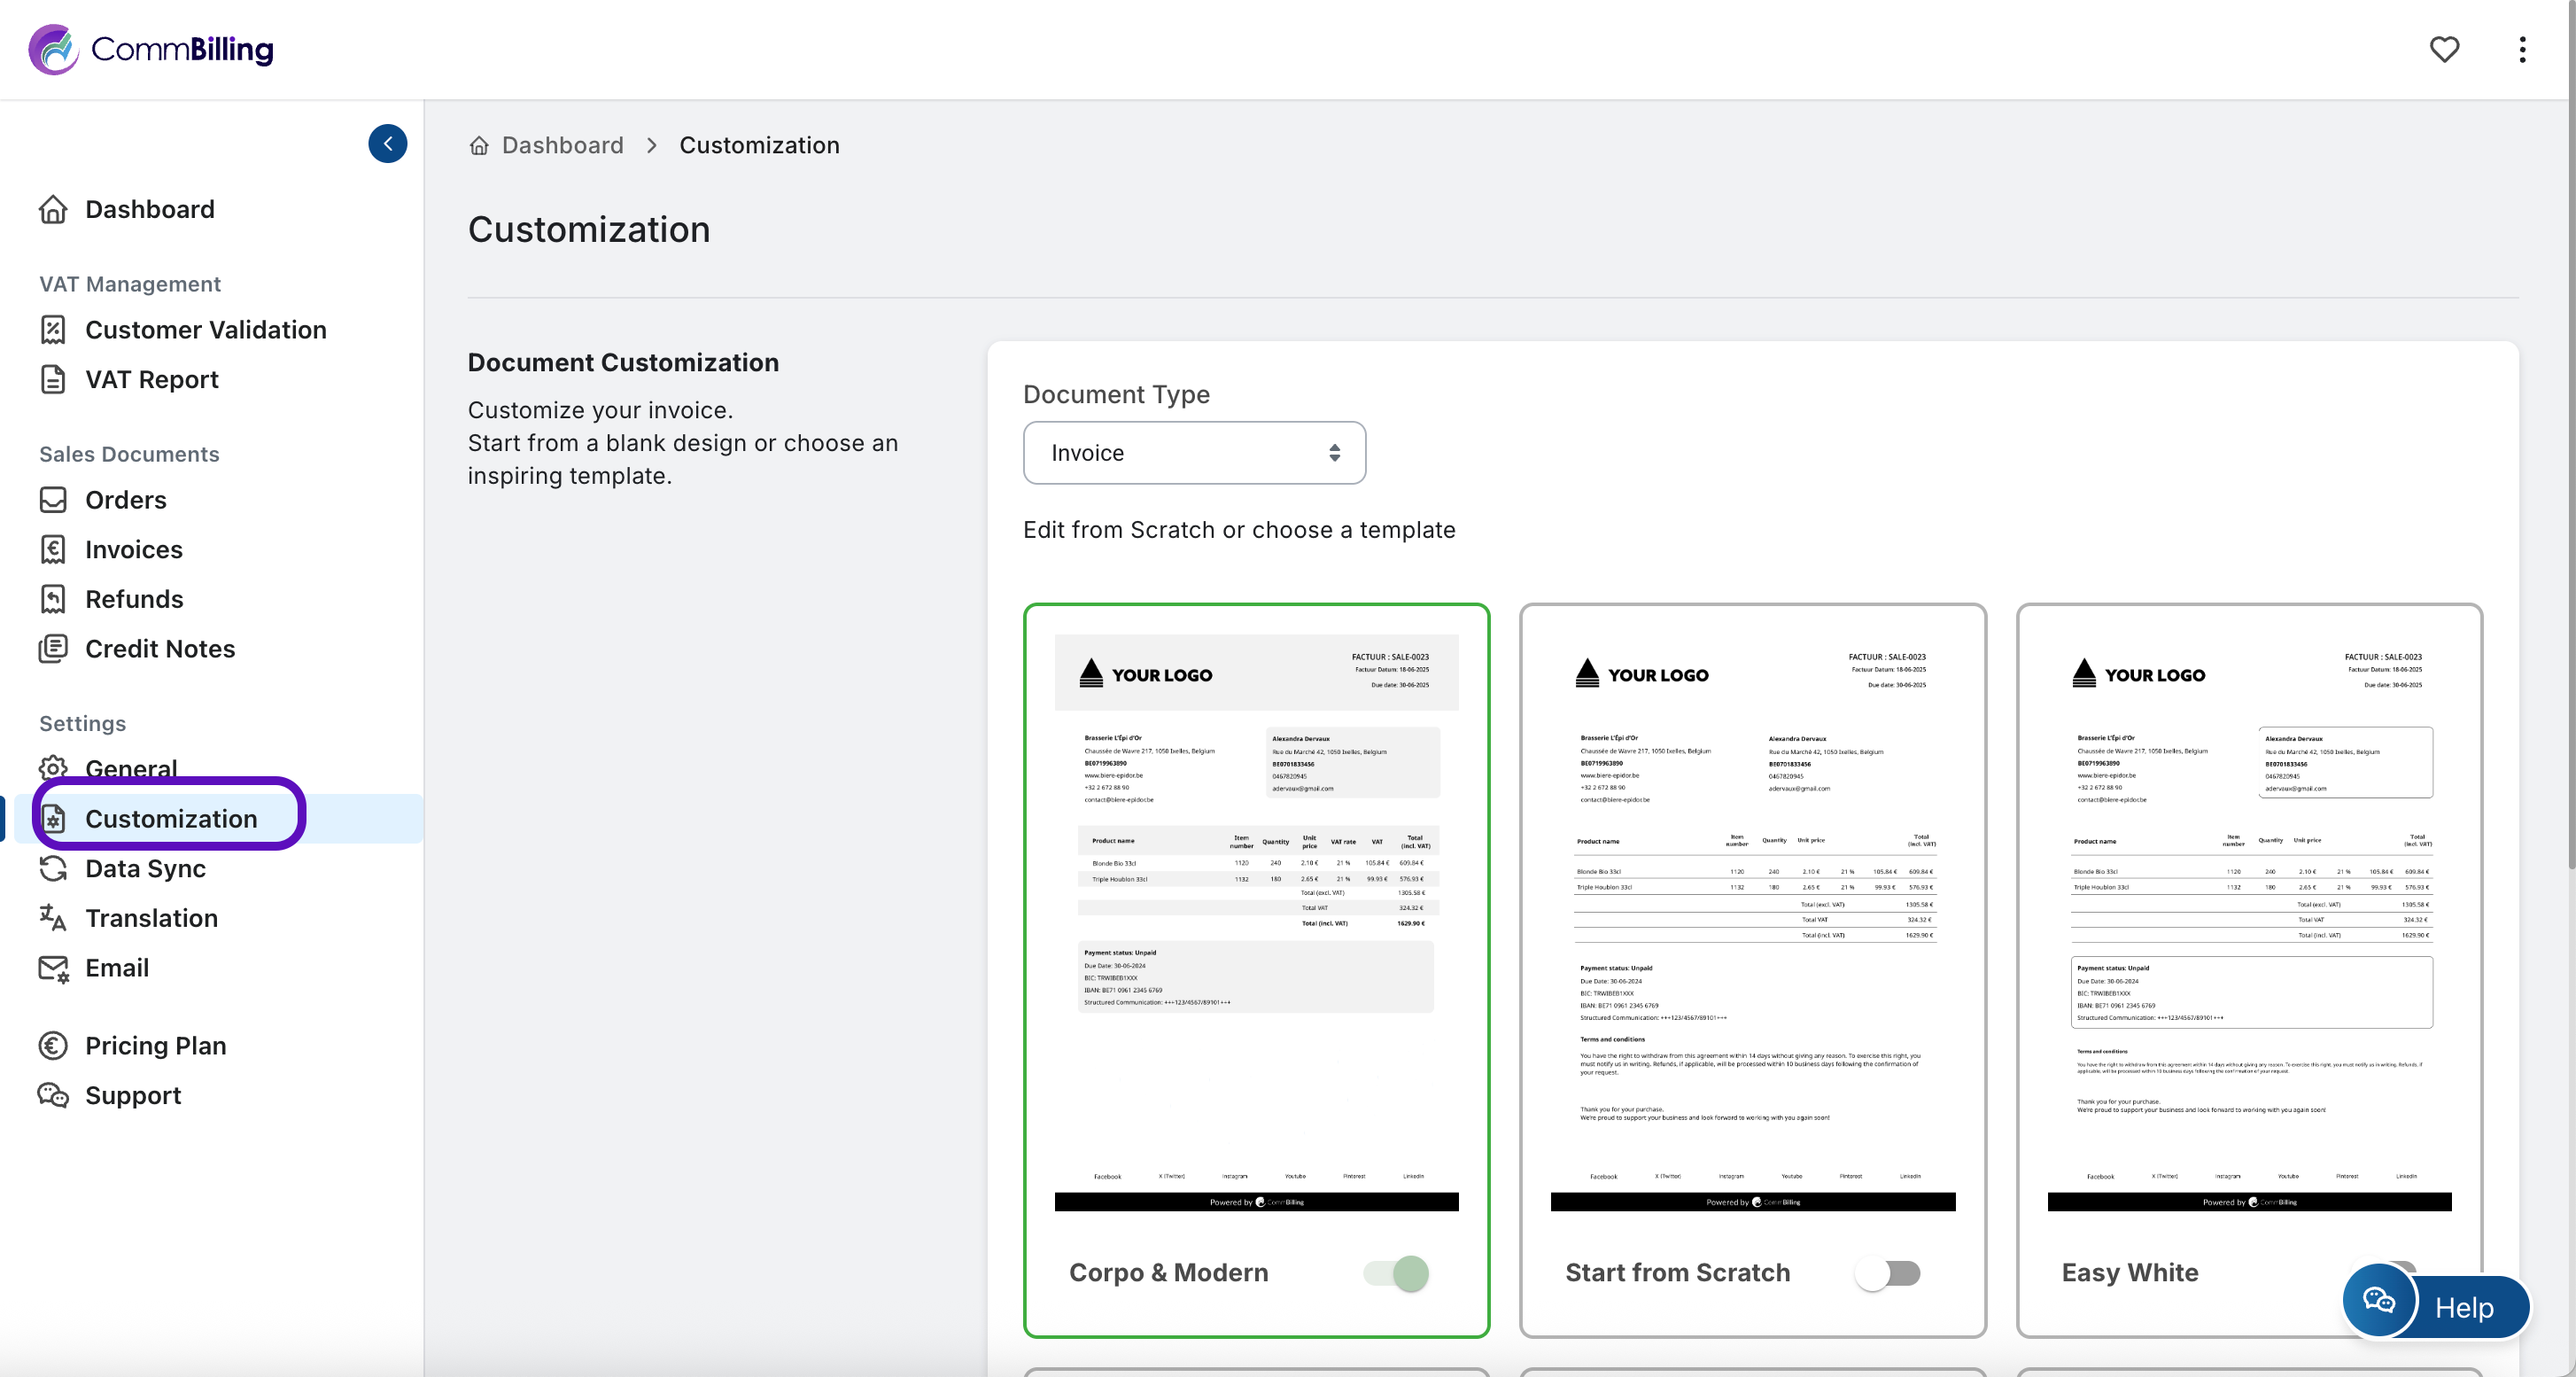
- Step 1: On the left menu in the settings section, locate and select the Customization tab.
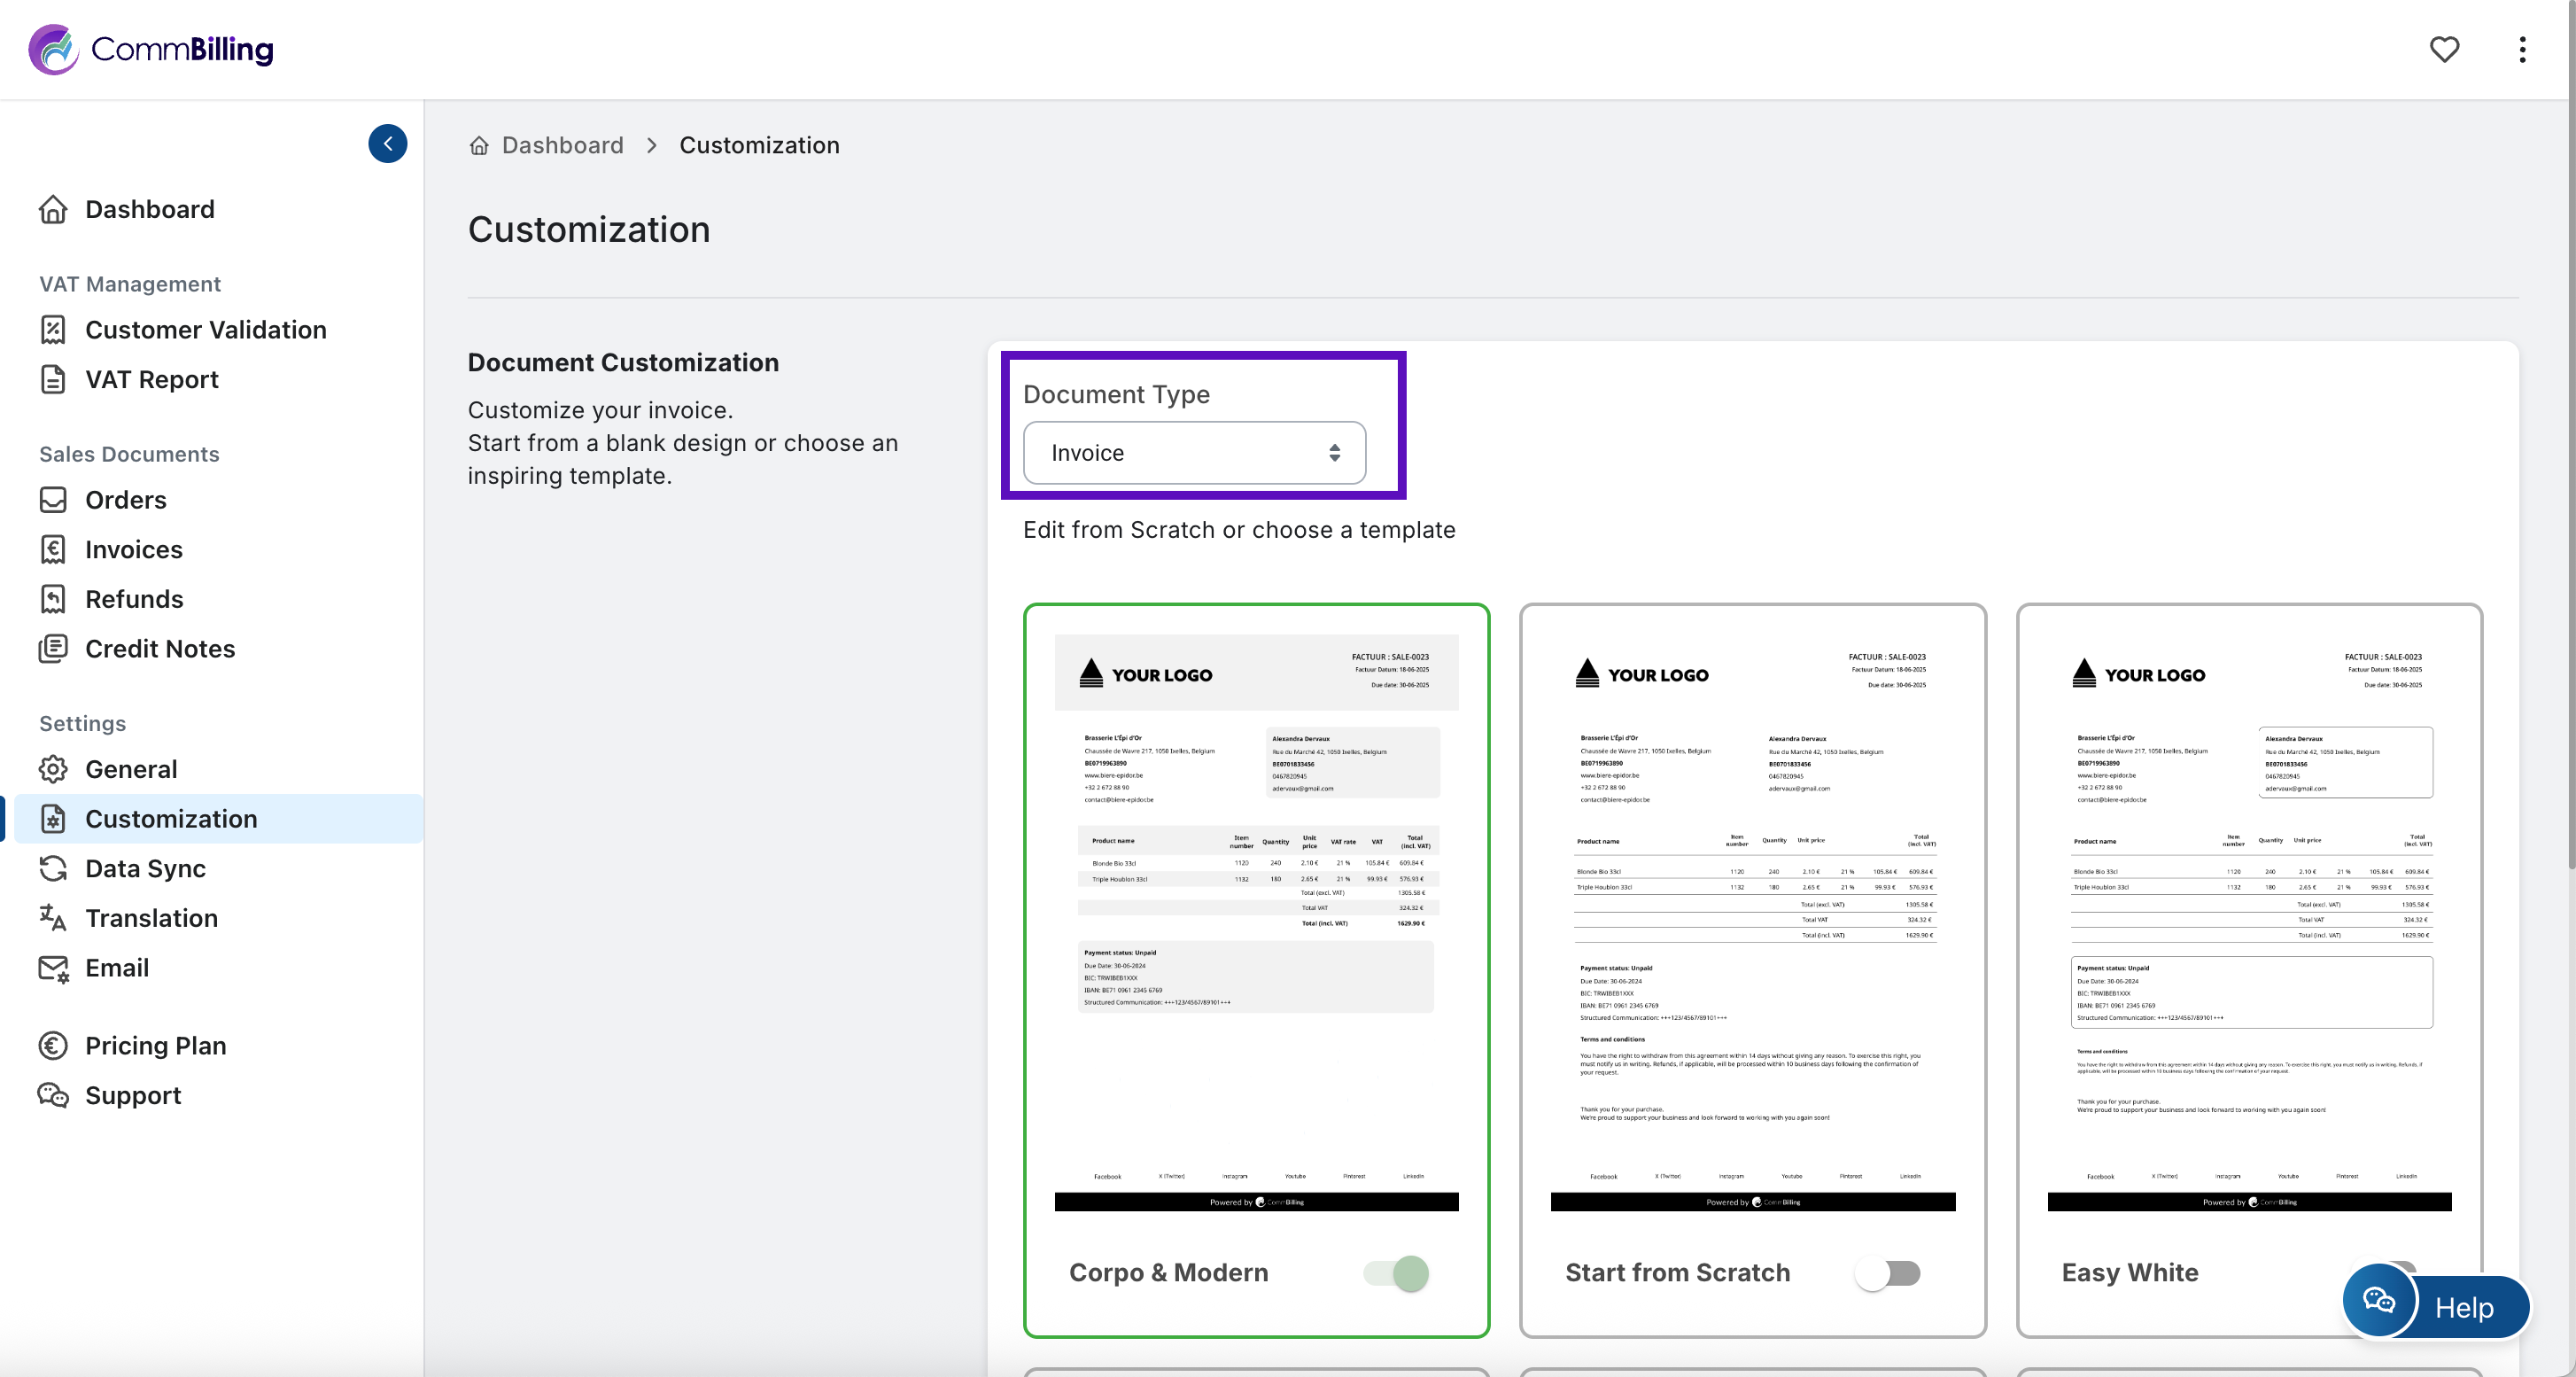
- Step 2: Select Invoice in Document Type.
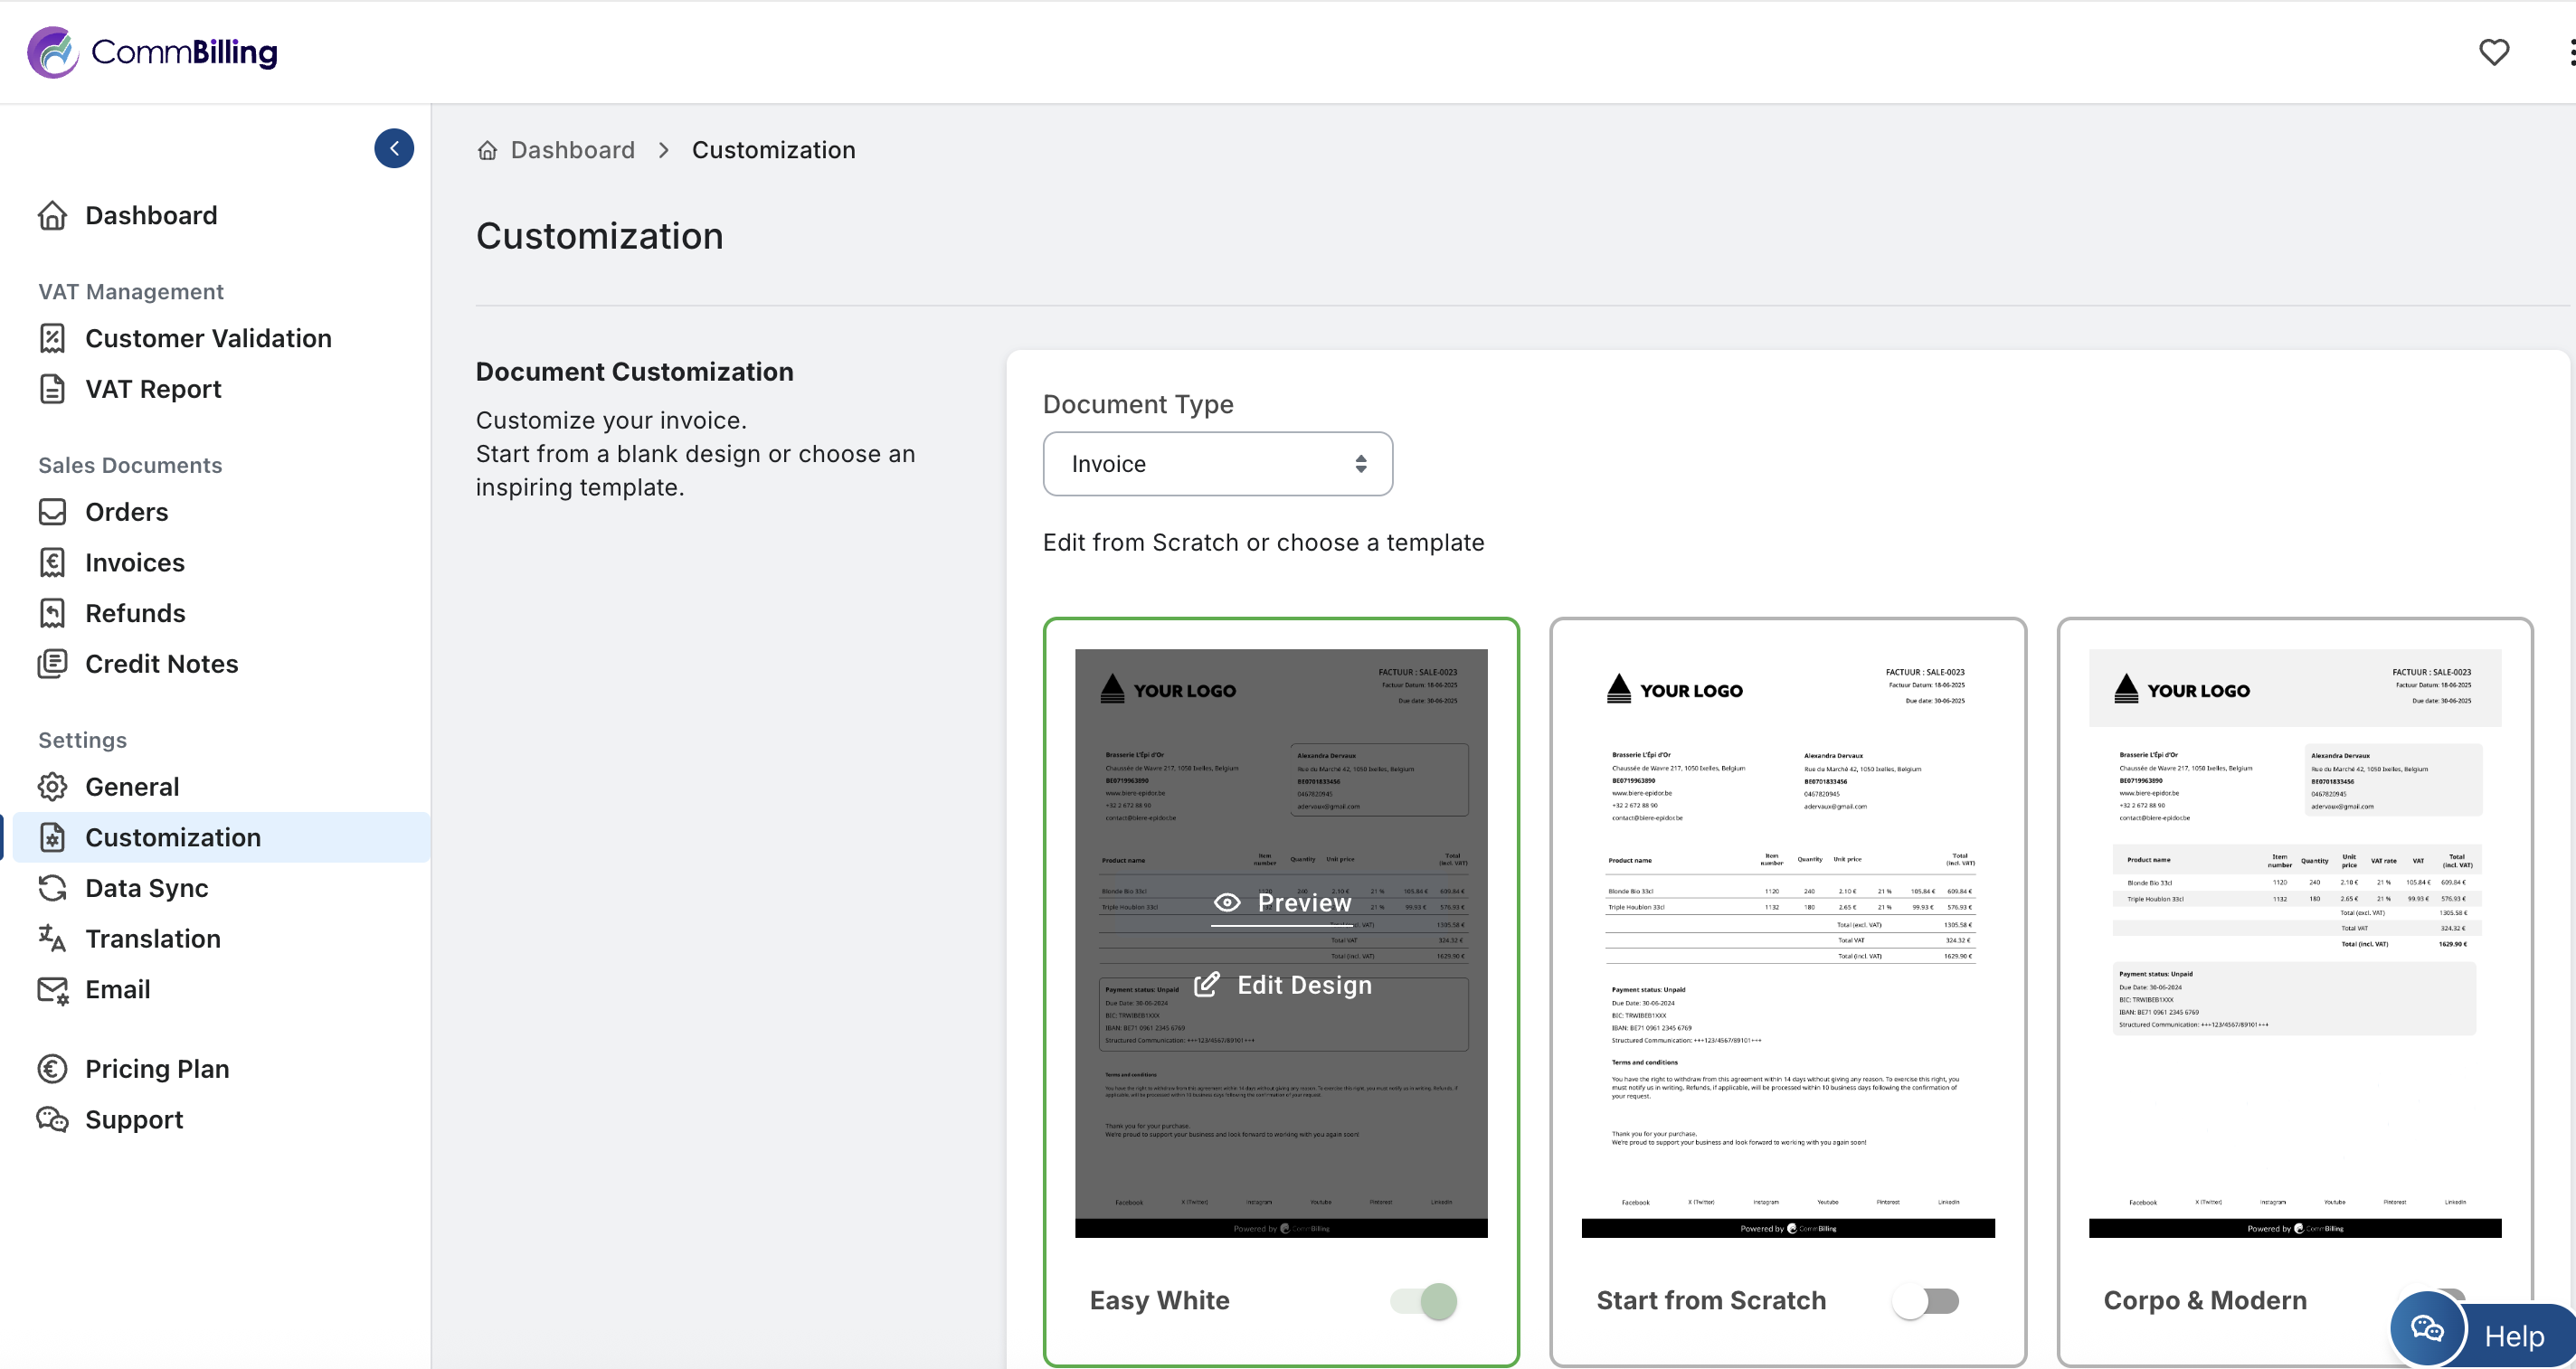
- Step 3: Move your mouse over the template you want, then click ‘Edit Design’.
- Step 4: In the Design Global Settings panel, locate the Logo section.
- Step 5: Click the upload icon and select your logo file from your device (recommended formats: PNG or JPG).
Choose also your preferred Logo Position : Left, Center, or Right to align it properly on your document.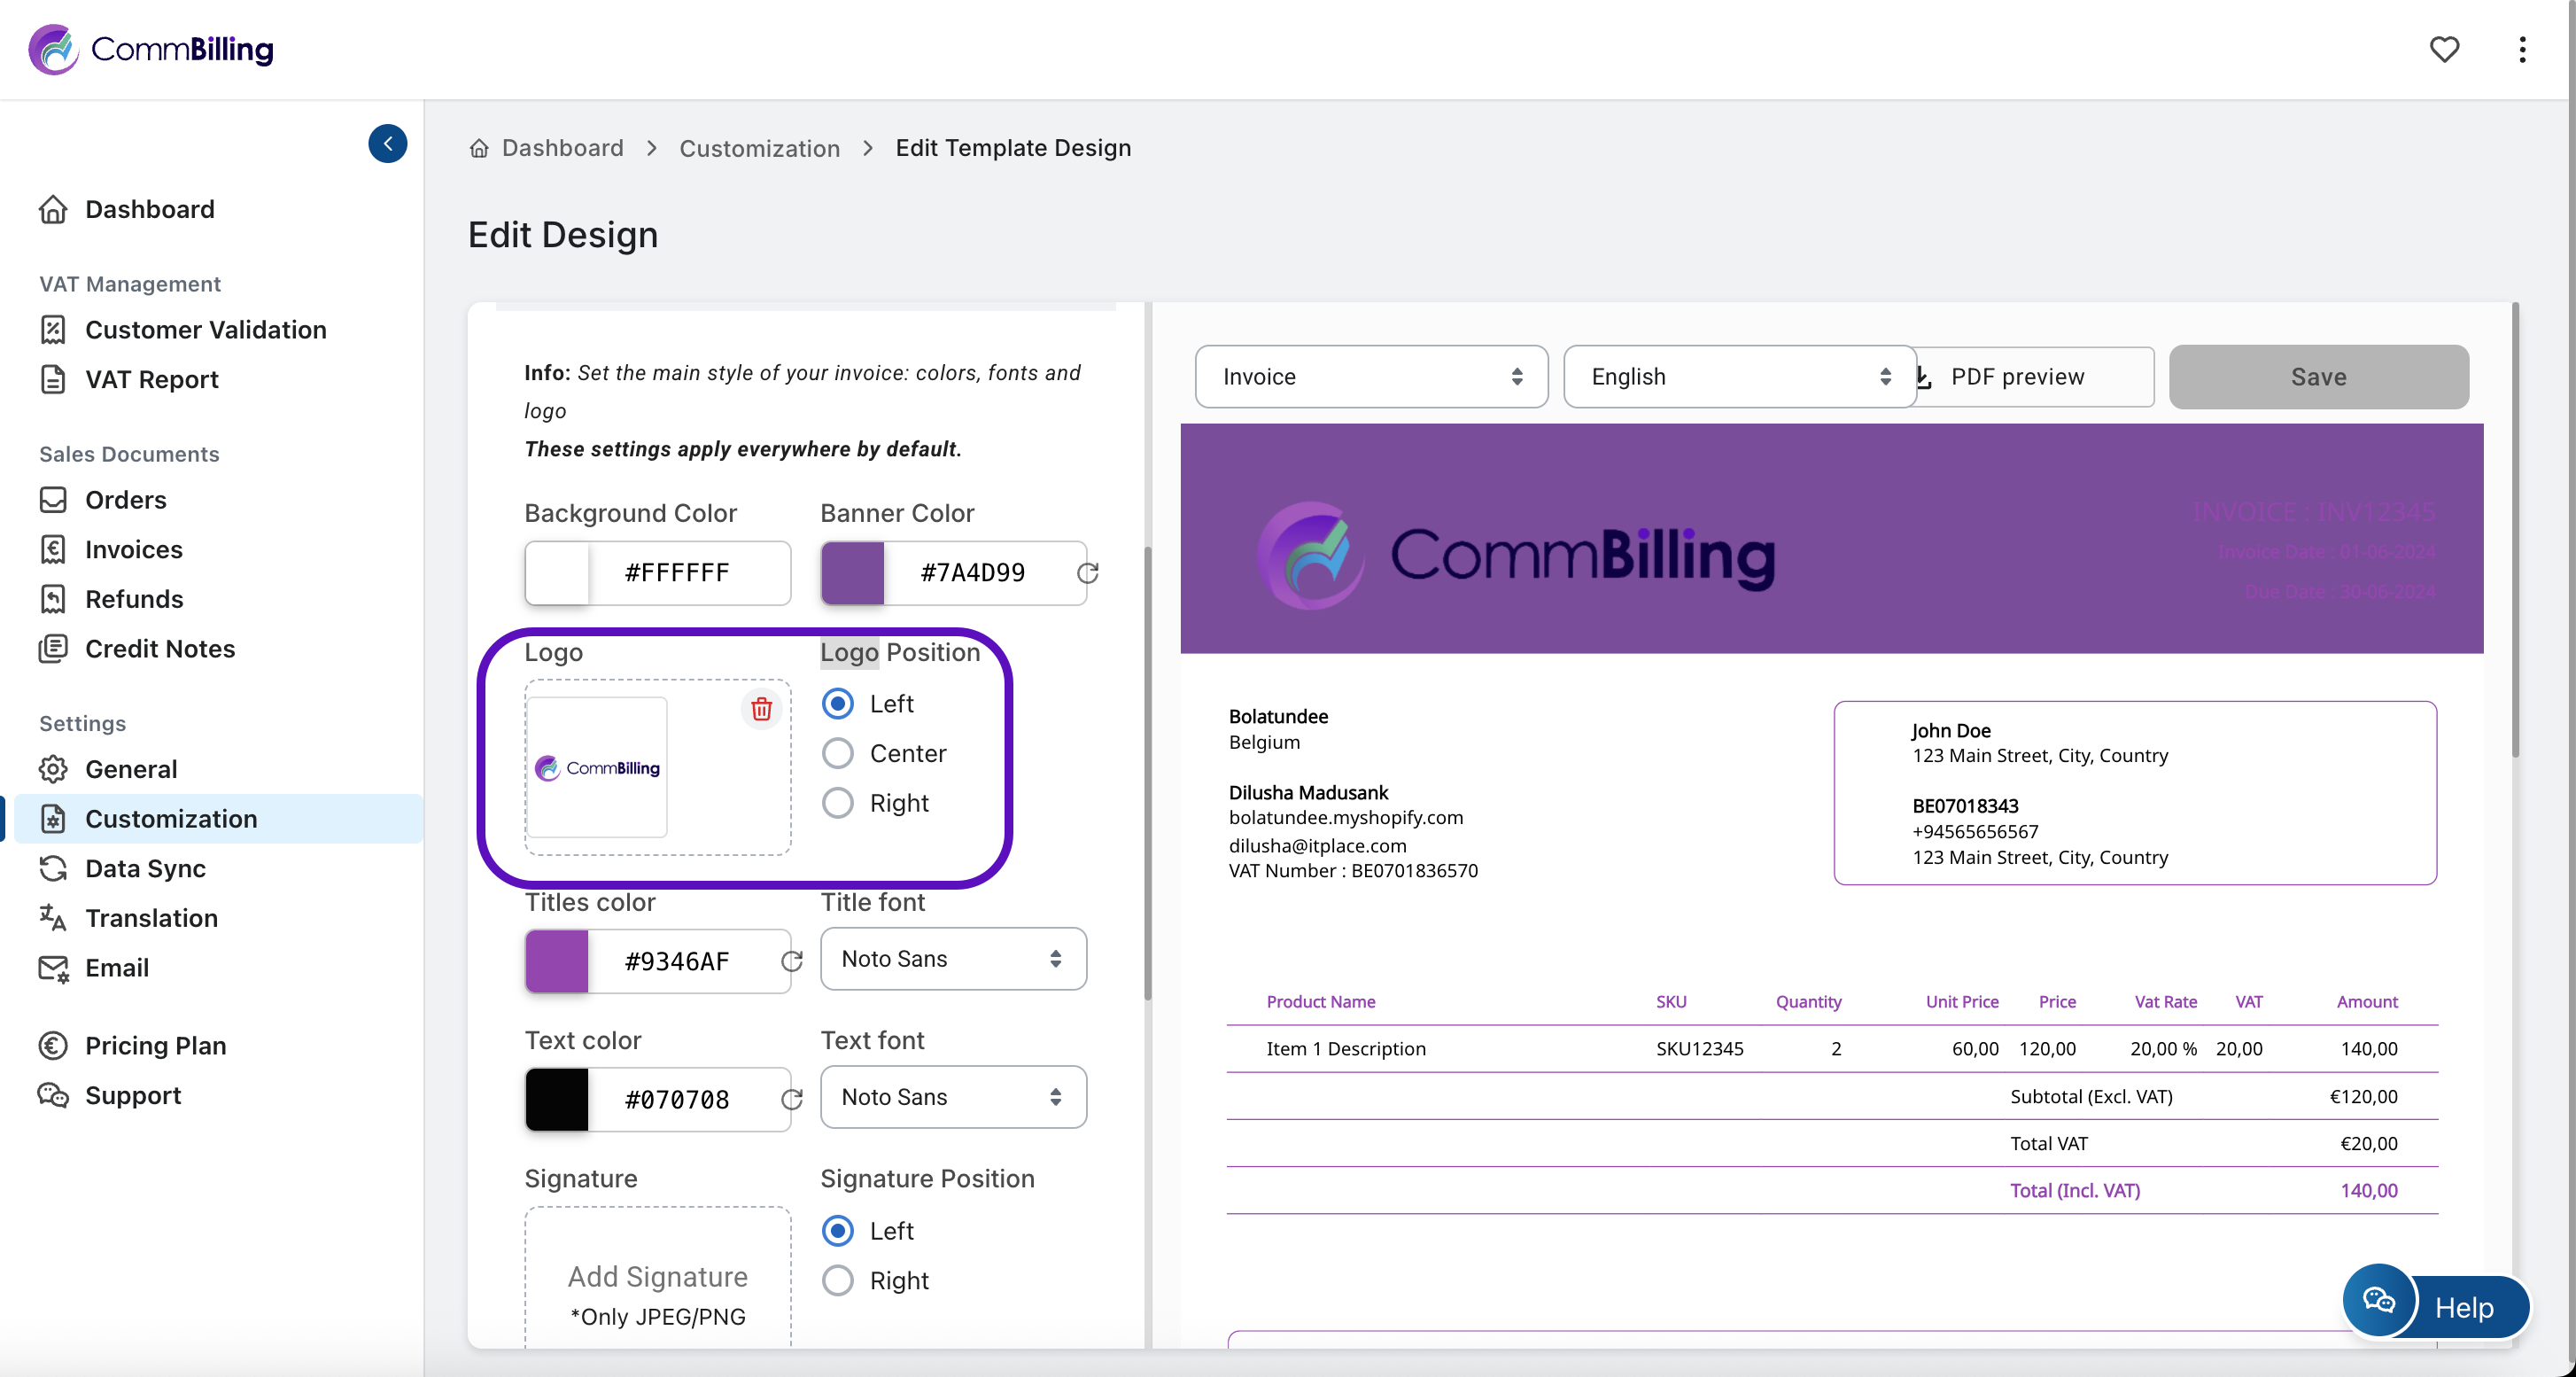
- Step 6: Click Save to confirm and apply your changes.
By adding your logo, you ensure that each invoice sent from CommBilling is immediately recognizable and consistent with your company’s visual identity. This small but impactful customization strengthens your brand credibility and enhances your client communication experience.