Migrating from Another Billing App to CommBilling
Transitioning from your old billing app to CommBilling has never been easier, and we’ve got you covered every step of the way. CommBilling ensures that your records remain intact and your billing workflow continues without disruption, making it the perfect solution for your Shopify store.
Step 1: Uninstall Your Old Billing App
Before setting up CommBilling, make sure to uninstall your previous billing app from your Shopify store. This avoids any conflicts between the old app and CommBilling.
Step 2: Sync Your Orders Effortlessly
Once the old billing app is removed, go to the Shopify App Store and install CommBilling by following these steps:
- Search for CommBilling in the app store.
- Click on the button Add and follow the prompts to install it.
Click here for more details on how to install CommBilling on Shopify.
Step 3: Sync Your Orders
To ensure all your previous sales records are available in CommBilling:
- Navigate to the Orders tab.
- Click the Order Sync button to import your existing Shopify orders into CommBilling.

This step ensures that your sales history is preserved, and you can continue billing without losing any past data.
(Optional) Step 4: Set Up Invoice and Credit Note Numbering
You have the option to customize invoice and credit note numbering:
- Navigate to Settings > General and Invoice and Credit Note Numbering section.

- By default, numbering starts at 001, but you can set it to continue from your last number in the previous billing system.
- For example, if your old billing app ended at 0018, you can configure CommBilling to start at 0019 for continuity.
(Optional) Step 5: Customize Your Sales Documents

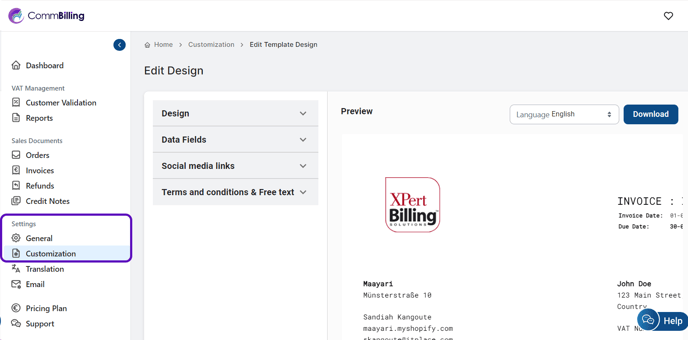
You can also customize your invoices to better reflect your brand. This includes adding your logo, changing the layout, and more. For detailed instructions on how to customize sales documents, refer to this guide. Customizing your documents ensures your invoices match your brand’s identity and look professional.
Step 6: Test the System
After syncing your orders and adjusting settings, run a few test orders to ensure everything functions correctly.
Step 7: Finalize the Migration
Once you are satisfied with the setup, finalize your transition by using CommBilling for all future billing needs. Be sure to inform your team about the new system and how to use it effectively.
